


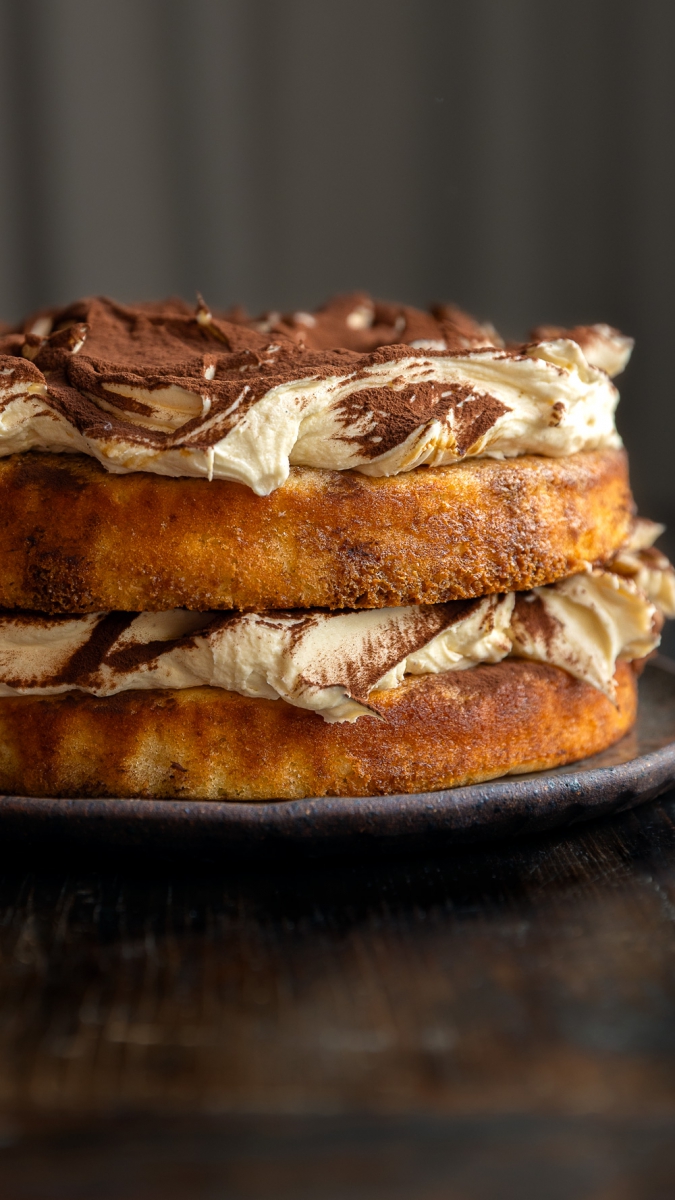
Think tiramisu, but make it cake. This Tiramisu-ish Layer Cake has everything we love about the Italian classic - strong coffee, mascarpone cream, and cocoa, but stacked between layers of light vanilla sponge.
It’s rich yet airy, simple to bake, and tastes even better after a night in the fridge.
Perfect for birthdays, celebrations, or for anyone who loves the flavour of tiramisu.
The cake can be served immediately, but it tastes even better after resting in the fridge for at least 6–8 hours, or ideally overnight, to allow the flavours to meld.
We had a bit of fun filming the recipe video for this one too! A little different... hope you love.


'SALADS' Recipe eBook

Made easy with step-by-step videos to guide you through each step and help aid in the food styling process.
Fresh, healthy, simple recipes every night of the week!

Ingredients
 Vegetarian
  25 minutes preparation time + 15 minutes bake time + 1–2 hours cooling & assembly (longer if chilled overnight)
  12
12 Vanilla cake
- 4 eggs
- 1 teaspoon vanilla bean paste or vanilla extract
- 150g (3/4 cup) castor sugar
- 80g extra virgin olive oil
- 250g (1 cup) thick unsweetened full-fat Greek yoghurt (the fat helps keep the cake tender)
- 185g (1 1/2 cups) plain flour
- 1 teaspoon baking powder
- 1/2 teaspoon bi-carb soda
- Pinch of sea salt
Coffee soak
- 150ml strong espresso (3 espresso shots, topped up with boiling water if needed)
- 1 1/2 tablespoons castor sugar
- 1 teaspoon vanilla bean paste
Mascarpone frosting
- 500g cream cheese, at room temperature
- 1 tablespoon vanilla bean paste or vanilla extract
- 130g (1 cup) pure icing sugar
- 500g mascarpone
To assemble
- 3 tablespoons dark Dutch-process cocoa powder

Method
Vanilla cake
- Preheat oven to 180°C/350°F. Grease and line two 20cm round cake tins with parchment paper.
- In a stand mixer with the whisk attachment (or using hand beaters and a large bowl), whisk the eggs, vanilla, and sugar for 1-2 minutes until light and fluffy. Avoid overmixing, as this can make the cake tough.
- Add the olive oil and Greek yoghurt, whisking until just combined.
- Using a spatula, fold in the flour, baking powder, bicarbonate of soda, and salt.
- Divide the mixture evenly between the two prepared tins.
- Bake for 15 minutes.
- Cool completely in the tins. To speed things up, transfer the slightly cooled cakes to the fridge or freezer until chilled.
Coffee soak
- In a small bowl or jug, stir together the hot coffee, sugar, and vanilla.
- Prepare just before assembling so it remains slightly warm for brushing onto the cakes.
Mascarpone frosting
- Beat the cream cheese and vanilla in a stand mixer (or with hand beaters) until smooth.
- Add the icing sugar and continue beating until lump-free.
- Add the mascarpone and mix gently until just combined - avoid overmixing, as mascarpone can split. A few slow turns of the beater or folding with a spatula is best.
- Refrigerate until needed.
To assemble
- Remove one cake from its tin and brush the underside with 1/4 of the coffee mixture. Place coffee-side down onto a serving plate.
- Brush the top of the same cake with another 1/4 of the coffee mixture.
- Spread over half of the mascarpone frosting, right to the edges. Dust generously with half the cocoa powder.
- Remove the second cake from its tin. Brush the underside with 1/4 of the coffee mixture, then carefully place it on top of the first cake layer. Gently press down to secure.
- Brush the top of the cake with the remaining coffee mixture. Spread over the rest of the mascarpone frosting, creating swooshes with a spoon or spatula.
- Dust with the remaining cocoa powder.
- Place in the fridge overnight to set.
The cake can be served immediately, but it tastes even better after resting in the fridge for at least 6–8 hours, or ideally overnight, to allow the flavours to meld.
Store any leftovers in the fridge for up to 5 days.
NOTES
- Using full-fat Greek yoghurt is important for tenderness; low-fat or no-fat yoghurt doesn't give the same result.
- Mascarpone can be temperamental - handle it gently to prevent splitting.
- A Dutch-process cocoa gives a deeper, more “tiramisu-like” flavour, but natural cocoa can be used if that’s what you have.
- The cake improves with chilling - if making for an event, prepare it a day ahead for the best flavour and texture.

Free Resources
Click on the links below to print or save this recipe to your device.